 How-to
7 Steps to Compare Bourbon Tasting Experiences
Last Updated: November 13, 2026
Quick Summary
To compare bourbon tasting experiences, pour two to four equal pours into identical glasses and evaluate each through the nose, palate, and finish stages before you discuss or reveal labels. Keep glassware, water, and temperature constant, score each pour on a short 1-5 scorecard, and log the results so you can revisit them later.
- Start beginners with three pours, no more, and keep every pour equal in size.
- Run blind comparisons by marking glasses underneath and revealing labels only after scorecards are complete.
- Match proof, age, style, and producer when you want to isolate a single variable.
- Pour low-proof before high-proof and save the strongest, oldest pour for last.
- Score nose, palate, finish, complexity, and value on a 1-5 scale before discussing any pour.
Table of Contents
- Why a Side-by-Side Comparison Beats a Solo Sip
- How to Do a Bourbon Tasting: The Core Method
- Bourbon Tasting for Beginners: Setting Up Your First Flight
- Using the Bourbon Flavor Wheel to Name What You Taste
- The Blind Bourbon Tasting Method for Honest Results
- Building a Comparison Scorecard You'll Actually Reuse
- Choosing Bourbons for a Fair Comparison
- Log Your Next Flight in Bourbon Tracker
- Frequently Asked Questions
Why a Side-by-Side Comparison Beats a Solo Sip
A single pour tells you whether you like a bourbon. Two pours side by side tell you why. That difference is the whole game when you learn how to compare bourbon tasting experiences, and it is the method we build around at Bourbon Tracker™.
Memory is a poor judge of flavor. The caramel you noticed last month blurs into the vanilla you tasted last week. When two glasses sit in front of you at the same moment, your palate has a reference point instead of a guess.
The Kentucky Distillers' Association guide to tasting bourbon makes the same point: comparison sharpens perception in a way that solo sipping cannot.
Below, we walk through the full protocol, from setup to scorecard. You will get a repeatable framework you can run on any two bottles in your collection.
How to Do a Bourbon Tasting: The Core Method
Bourbon tasting is the practice of evaluating a pour in three stages: nose, palate, and finish. Each stage answers a different question, and skipping one leaves you with an incomplete picture.
The method stays the same whether you are tasting alone or comparing two bottles. Pour a small amount, let it rest, then work through the checkpoints in order.
Nose, Palate, Finish: The Three Checkpoints
- Nose: Swirl gently and smell with your mouth slightly open. Look for sweetness, oak, and spice before the ethanol hits.
- Palate: Take a small sip and let it coat your tongue. Note body, sweetness, and heat.
- Finish: Swallow and count how long the flavor lingers. A long finish is not automatically better, but it is information.
A common mistake is rushing the nose. Smell twice, with a short pause between passes.
Bourbon Tasting for Beginners: Setting Up Your First Flight
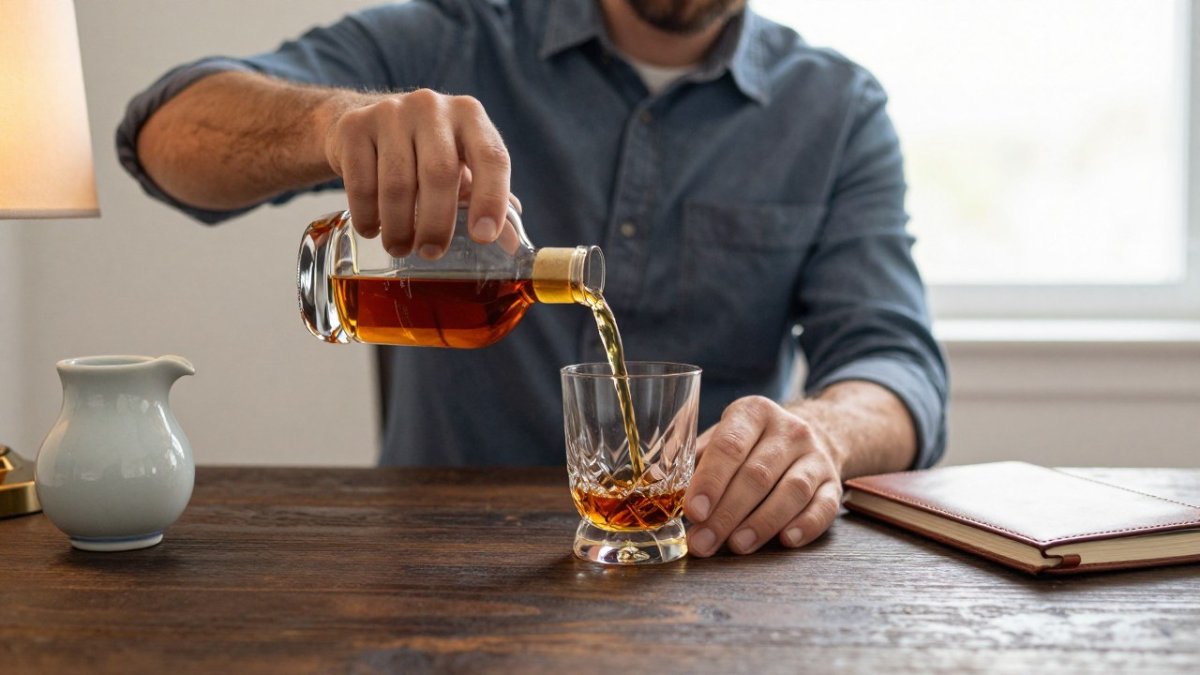
Start with three pours, no more. A flight of three is enough to compare without overwhelming your palate, and it keeps the session short enough that your senses stay sharp.
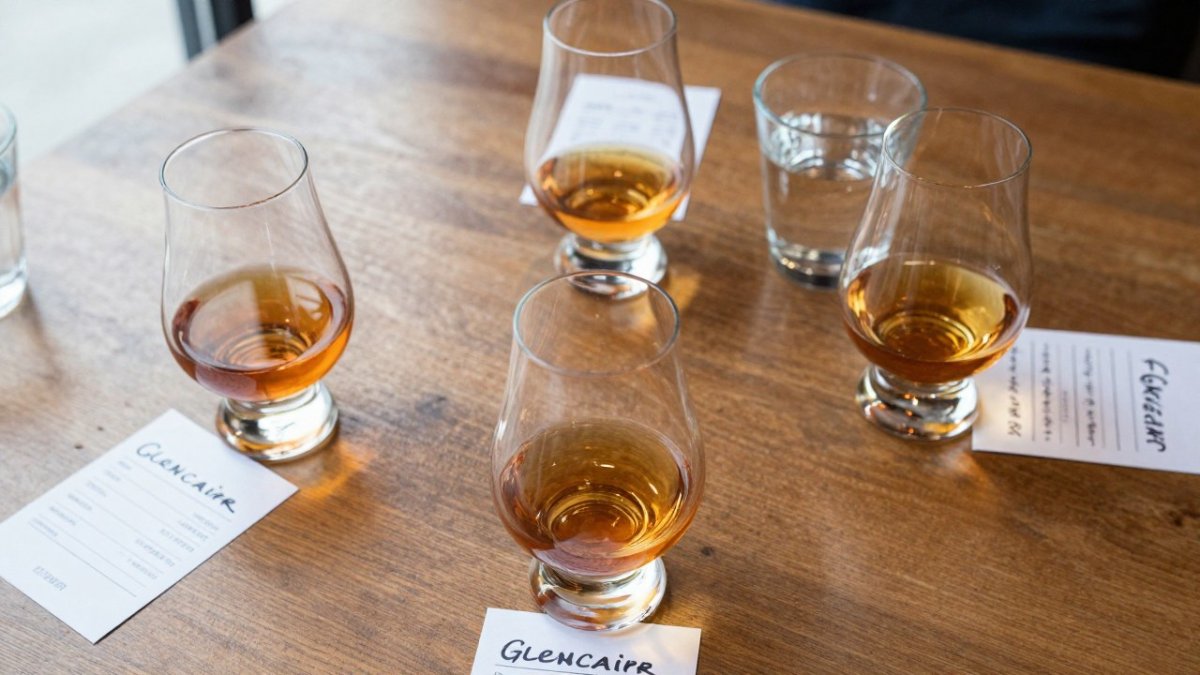
Set the glasses in a row and keep the pours equal. Uneven pours skew everything that follows, because a bigger pour reads as a bigger flavor.
Glassware, Water, and the Variables That Skew Results
Three variables wreck more comparisons than anything else: glass shape, water, and temperature.
- Glass: A tulip-shaped glass concentrates aroma. A wide tumbler lets it escape.
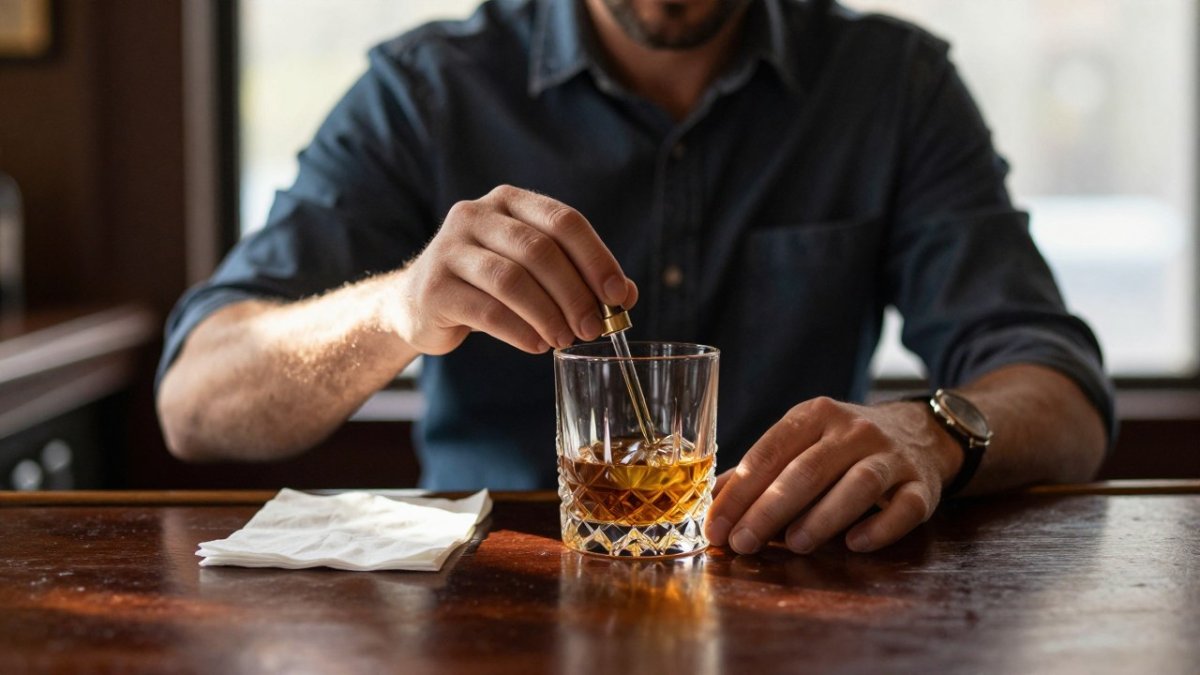
- Water: A few drops can open up a high-proof pour. Add the same amount to every glass.
- Temperature: Room temperature is the baseline. Cold mutes aroma.
Keep all three constant across the flight to reduce variables. If you want a deeper look at which glasses to use, our guide to essential bourbon glassware for beginners covers the shapes worth owning.
Using the Bourbon Flavor Wheel to Name What You Taste
The bourbon flavor wheel is a circular chart that groups tasting notes into families like grain, fruit, wood, and spice. It exists to solve one problem: "it tastes good" is not a note you can compare later.
Start at the center and work outward. Ask whether the dominant impression is sweet, spicy, woody, or grainy. Then narrow it: sweet becomes caramel, then burnt sugar.
Do not chase every note. Pick the two or three that stand out and write them down. If you want a structured walkthrough of applying the wheel, our practical guide to whiskey flavor wheels shows how to move from general impression to specific descriptor.
The Blind Bourbon Tasting Method for Honest Results
The blind bourbon tasting method hides the labels so your expectations cannot vote. You pour, label the glasses A and B on the bottom, and evaluate before you know which is which.
This matters because price and reputation change what you taste. A bottle you paid more for tends to score higher when you can see it. Blind, that bias disappears.
Here is how we run it:
- Have someone else pour, or pour with the bottles turned away.
- Mark the glasses underneath, not on the rim.
- Run the full nose, palate, finish sequence on each.
- Reveal only after both scorecards are complete.
If you want to host one with friends, our step-by-step guide to hosting a bourbon blind tasting at home covers the logistics.
Building a Comparison Scorecard You'll Actually Reuse
A scorecard turns impressions into numbers you can compare across sessions. Keep it short enough that you will actually fill it out.
| Category | What to Score | Scale |
|---|---|---|
| Nose | Aroma intensity and clarity | 1-5 |
| Palate | Body, sweetness, balance | 1-5 |
| Finish | Length and pleasantness | 1-5 |
| Complexity | How many distinct notes | 1-5 |
| Value | Enjoyment per dollar | 1-5 |
Scale
Score each pour before you discuss it. Talking first anchors everyone to the loudest opinion in the room.
For a deeper method on scoring consistently, our guide to rating bourbon tasting notes walks through how to calibrate your own scale over time.
Choosing Bourbons for a Fair Comparison
A fair comparison pits bottles against each other on equal footing. But 'fair' is not the only goal, sometimes you want a controlled match to isolate one variable, and sometimes you want a deliberate contrast to learn what a variable actually does. Decide which question you are asking before you pick bottles, because the two setups produce different flights.
Match when you want to isolate one variable
A matched flight holds everything constant except the thing you are testing. Compare within a proof range, within a similar age, and within a similar style.
- Match proof: Keep pours within a reasonable band, roughly ten proof points is a common working rule, so intensity does not dominate the score.
- Match age: A young bottle against a well-aged one tests age, not quality. If age is the variable you care about, match mash bill and proof instead.
- Match style: Wheated against wheated tells you more than wheated against rye-heavy, because the grain recipe is not confounding the result.
- Match producer where possible: Two bottles from the same distillery at different ages or proofs isolate the house style from the recipe.
Contrast when you want to learn what a variable does
A contrast flight deliberately breaks one variable to show you its effect. Same mash bill at two proofs. Same proof at two ages. Same age and proof across two mash bills. The point is not to declare a winner but to taste the variable itself.
- Proof contrast: A barrel-proof pour against its 80- or 90-proof sibling shows you what dilution does to aroma and body.
- Age contrast: A young expression against an older one from the same line shows you what barrel time adds, and what it costs in brightness.
- Mash bill contrast: A wheated bourbon against a rye-heavy one at the same proof shows you the grain, not the strength.
Contrast flights are more educational and less satisfying as a 'which should I buy' exercise.
The order matters
Pour low-proof before high-proof, young before old, and lighter before heavier. A high-proof pour first will numb your palate for everything after it, and a heavy, oak-forward pour will make a delicate one taste thin by comparison. Save the strongest, oldest, or most intense pour for last so it does not set the baseline for the rest.
A repeatable selection protocol
Before you pour, write down the question the flight is answering, 'which of these two 100-proof wheated bourbons do I prefer' or 'what does barrel proof add to this recipe.' Then:
- Pick the variable you are testing and hold every other variable constant.
- Choose two to four bottles that differ only on that variable.
- Order them low to high on the variable, proof, age, or intensity.
- Pour equal volumes into identical glasses and rest them the same amount of time.
- Score each pour before you discuss it, then compare scores.
If you are building a flight from scratch, our guide to building a bourbon tasting flight lays out the order and selection logic step by step.
Watch out: a flight that changes proof, age, and mash bill all at once feels exciting but teaches you nothing, because you cannot attribute the difference to any one cause.
Log Your Next Flight in Bourbon Tracker
The comparison only pays off if you can find it again six months later. That is where most tasting notes die: on a napkin, in a phone note, never looked at again.
Bourbon Tracker™ is a free platform that keeps your tasting notes, scores, and bottle history in one place. No download is required. You can log each pour, store your scorecard results, and build a wishlist as you discover bottles worth buying.
The AI-powered recommendations are designed to suggest bottles that match your palate.
Comparing bourbon tasting experiences gets easier every time you run the same protocol. Nose, palate, finish, score, log. Do that consistently and your palate develops faster than any amount of reading can deliver.
Get started with Bourbon Tracker™ and turn your next flight into a record you can actually use.
Frequently Asked Questions
How do you compare two bourbons side by side?
Pour equal amounts of each into identical glasses at the same temperature, then evaluate nose, palate, and finish in the same order for both. Take notes between sips so the first pour doesn't blur into the second. Keep water nearby and add the same number of drops to each. If you want to remove label bias, have someone else pour and number the glasses so you're judging what's in the glass rather than the bottle.
How do you taste bourbon flavors instead of just alcohol?
Start by nosing before you sip, keeping your mouth slightly open so ethanol vapors vent away from your nasal passages. Take small sips and let the bourbon coat your tongue before swallowing. A few drops of water can lower the proof enough to reveal sweetness, oak, and fruit notes that high ethanol masks. Using a bourbon flavor wheel gives you vocabulary for what you're picking up, which makes the notes easier to recognize the next time.
How many bourbons should you compare in one tasting?
Three to four pours is the practical ceiling for most people. Palate fatigue sets in quickly, and by the fifth or sixth sample your notes start repeating themselves. If you're running a blind bourbon tasting method with a group, keep flights to three and reset with water and a plain cracker between rounds. Comparing fewer pours in detail beats rushing through a long lineup.
What is a bourbon flavor wheel and how do you use it?
A bourbon flavor wheel groups tasting descriptors into families such as sweet, spice, oak, fruit, and grain, with specific notes branching off each. You use it after nosing and tasting by scanning the categories and picking the one that matches what you noticed, then narrowing to a specific descriptor like vanilla, caramel, or rye spice. It's a vocabulary tool, not a checklist, so pick two or three notes per pour rather than forcing every category.