 how-to
How to Host a Bourbon Blind Tasting at Home
Table of Contents
- How to Host a Bourbon Blind Tasting: Step-by-Step
- Step 1: Pick Your Bourbons and Set a Budget
- Step 2: Decide How Many Bourbons to Taste
- Step 3: Choose the Bourbon Tasting Order
- Blind Whiskey Tasting Ideas: Themes, Flights, and Formats
- Supplies, Glassware, and Equal Pours
- A Reproducible Blind-Tasting Protocol
- Bourbon Tasting Scorecard: Scoring and Reading the Results
- Accessibility, Responsible Serving, and Non-Expert Guests
- Conclusion
- Frequently Asked Questions
Last Updated: October 15, 2026
How to Host a Bourbon Blind Tasting: Step-by-Step
A bourbon blind tasting is a gathering where guests taste several whiskeys without knowing which bottle is which, then score and discuss each pour before the big reveal.
The setup matters more than the guest list. When labels stay hidden, people stop reaching for the bottle they already love and start trusting their own palate.
Below, we cover bottle selection, pour sizes, scorecards, and a repeatable protocol you can run again next month. Most hosts skip the scoring step.
Step 1: Pick Your Bourbons and Set a Budget
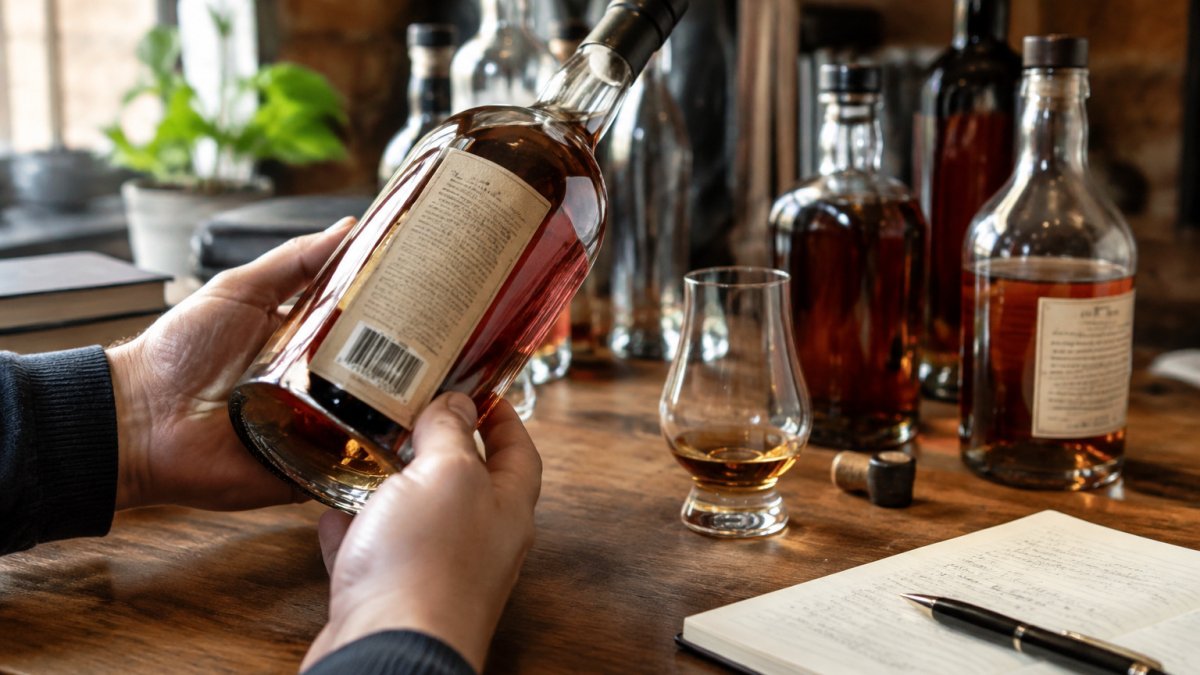
Start with a budget, not a bottle list. A good blind tasting works with four mid-shelf bourbons just as well as with rare pours.
Group your picks by price band so the comparison stays fair:
- Under $30: everyday sippers and high-proof workhorses
- $30 to $60: the sweet spot for most tastings
- $60 and up: reserve these for a themed flight
A common mistake is mixing a $25 bottle with a $200 one. Guests guess the expensive pour almost every time, and the game stops being fun.
Step 2: Decide How Many Bourbons to Taste
Four to six bourbons is the sweet spot for a home tasting. Fewer than four and the comparison feels thin. More than six and palates tire fast.
Here's how to size the flight:
- 2 to 4 guests: 4 bourbons
- 5 to 8 guests: 5 bourbons
- 9 or more guests: 6 bourbons, poured in smaller samples
Palate fatigue is real. By the seventh pour, most people can't tell rye spice from barrel char. Keep it tight.
Step 3: Choose the Bourbon Tasting Order
Pour low proof first, high proof last. This is the single rule that matters most for a fair bourbon tasting order.
A workable sequence:
- Lowest proof, lightest body
- Mid-range proof, sweeter profile
- Higher proof, richer or spicier pours
- Highest proof or cask strength
Why does order matter? High-proof whiskey numbs the palate. Serve a 130-proof pour first and everything after it tastes like water.
Blind Whiskey Tasting Ideas: Themes, Flights, and Formats
A theme turns a random lineup into a story. Pick one angle and build the flight around it.
Try these blind whiskey tasting ideas:
- Single distillery, different ages
- Same mash bill, different proofs
- Wheated versus high-rye
Formats vary too. A seated tasting suits four to six pours. A walk-around party works better with three stations and small samples.
For background on how bourbon is made and regulated, the TTB distilled spirits labeling rules explain what has to appear on every bottle.
Supplies, Glassware, and Equal Pours
You need less gear than you think. The essentials are glasses, labels, water, and something to write on.
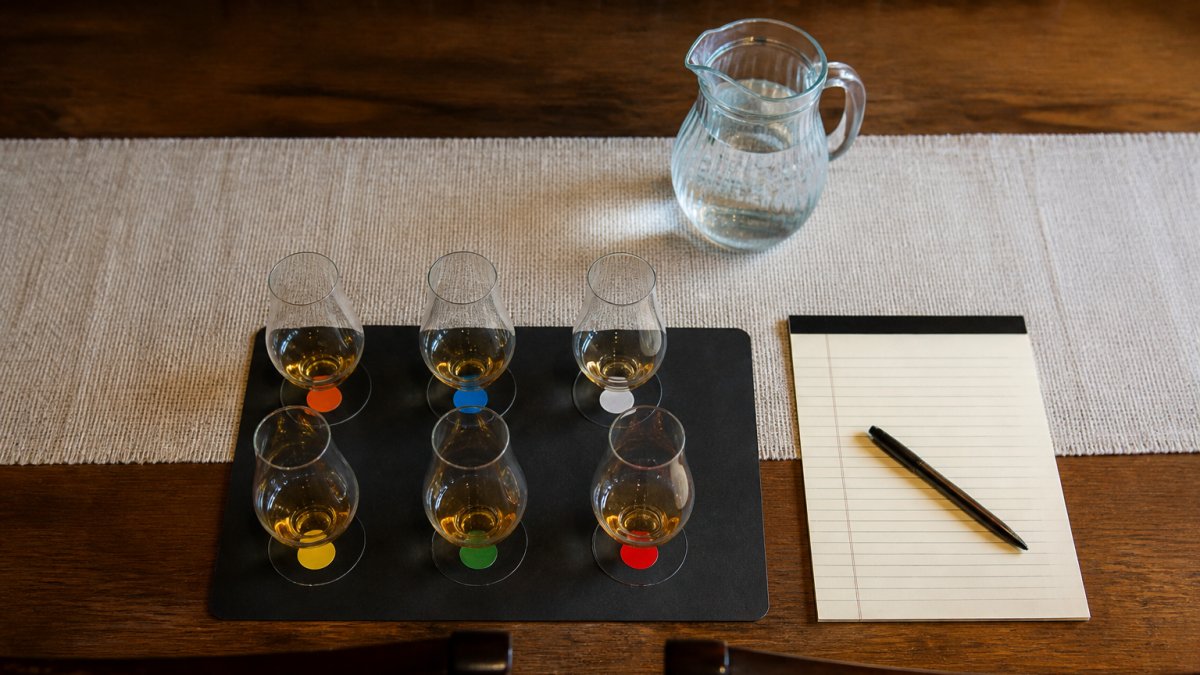
A tulip-shaped glass, often called a Glencairn, concentrates aroma and makes blind identification easier. A rocks glass works in a pinch.
Pour 0.5 ounces (about 15 ml) per sample. Equal pours keep the test fair, so measure rather than eyeball.
A Reproducible Blind-Tasting Protocol
A reproducible protocol means a different host, on a different night, with a different lineup, can run the same tasting and produce notes you can actually compare. That only works if the sequence is fixed before the first pour. Write it down once and reuse it every time.
Step 1: Build the lineup and assign codes
List your bourbons in the order you plan to pour them, then assign each a code that carries no information. Two-digit numbers work better than letters, because letters tempt people to read meaning into them ("A must be the good one").
- Use a code list like 14, 27, 38, 41, 56, 63, non-sequential, no pattern.
- Write the code-to-bottle key on a single sheet, fold it, and put it somewhere no one will wander past.
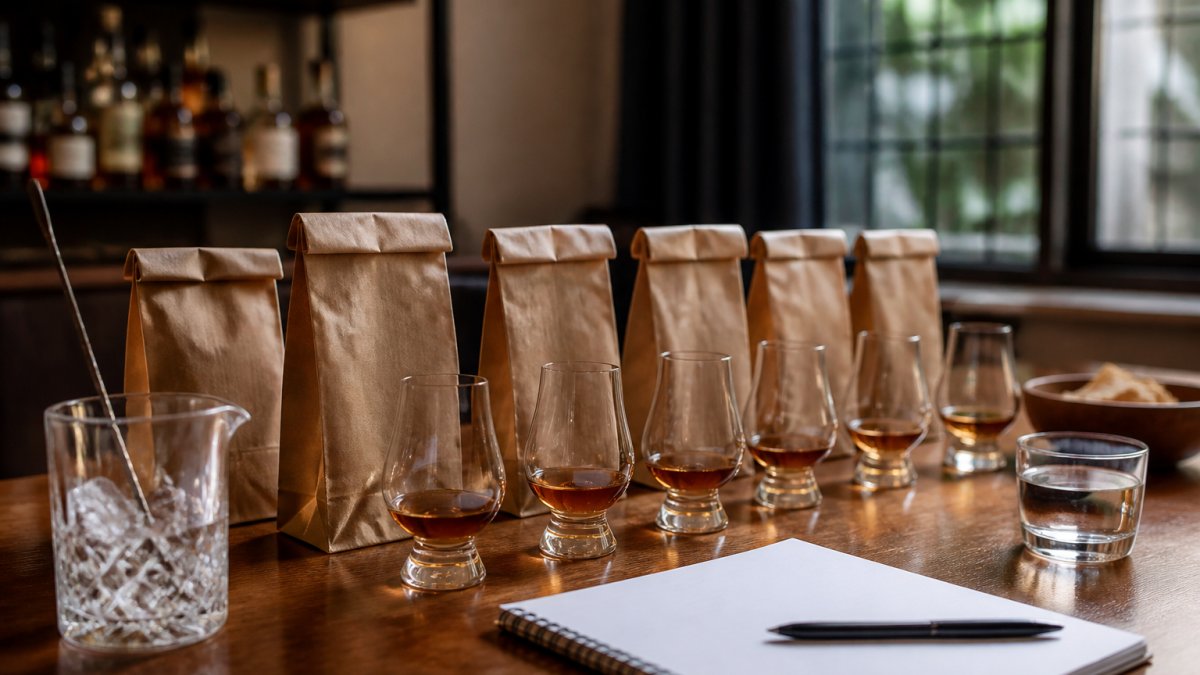
- Label the bottom of each glass, not the side. A sticker on the rim is visible while someone is nosing the glass.
Step 2: Randomize the pour order
Serving order changes results. High-proof pours dull the palate, and the first sample in any flight tends to score lower simply because tasters are calibrating. Randomize the order of the coded samples so no one can track "the third one is always the high-proof."
A simple method: shuffle the coded glasses face-down on a tray before they leave the pour room, then place them in the shuffled order.
Step 3: Control the pour room
Pour in a separate room or behind a closed door. Keep every bottle in a closed box, a cabinet, or a cooler, not on a counter where a guest might walk by. One person pours and does not taste until the reveal. If that person also wants to participate, have them pour their own coded set last, after everyone else's glasses are placed.
Step 4: Prevent accidental reveals
Most blind tastings break on small details, not big ones:
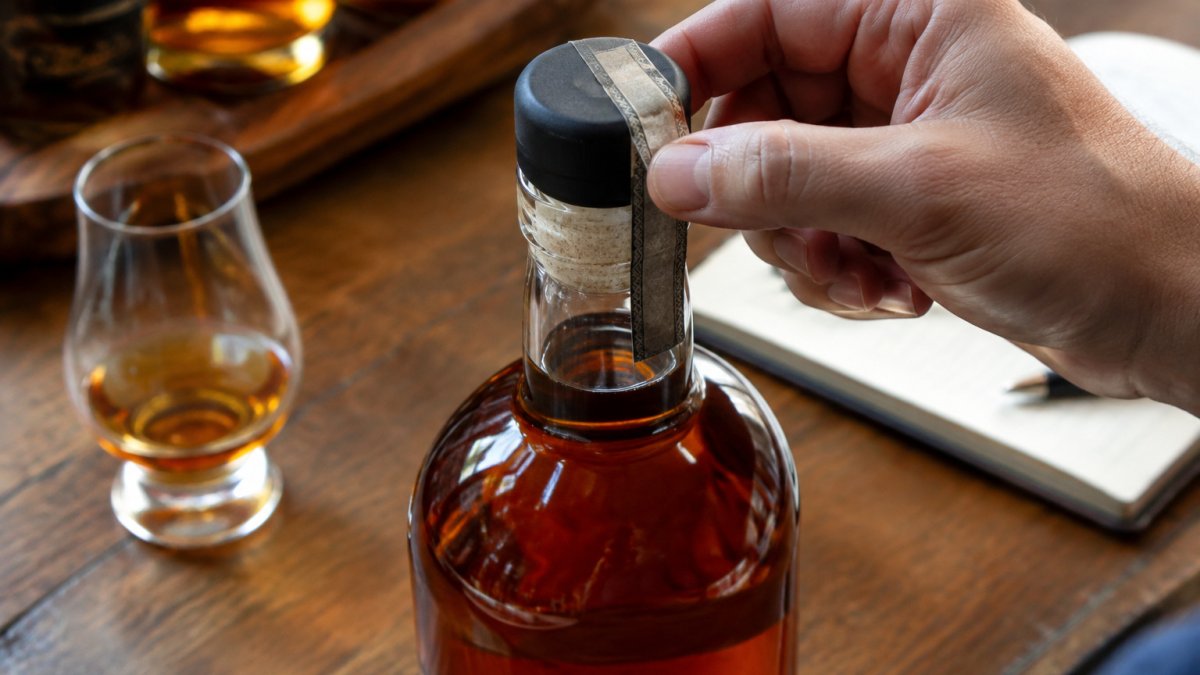
- Remove or cover any bottle-shaped silhouette, neck foil, or distinctive cap that could be recognized from across the table.
- Don't let anyone bring their own bottle into the tasting room "just to show you."
- Keep phones off the table. A quick label search or a photo of the lineup ends the blind.
Step 5: Run the same tasting sequence every time
Use one fixed script so every session is comparable:
- Distribute coded glasses and scorecards.
- Read the three-stage prompt aloud: aroma, palate, finish.
- Give each stage a set time, for example, two minutes for aroma, three for palate, one for finish.
- Collect every scorecard before any bottle is uncovered.
- Reveal one bottle at a time, in code order, and let the group react before moving to the next.
Step 6: Conduct a consistent reveal
Reveal in the same order you coded, not in order of preference. If you reveal the winner first, the rest of the reveal becomes an afterthought and people stop paying attention. Read the code, then the bottle name, then the price band if you're tracking value. Keep the key sheet for your records.
Why this matters for bias control
Blindness integrity is not just about hiding labels. It's about removing every cue that could steer a taster: bottle shape, pour order, the host's expression when someone guesses, and the sequence of the reveal itself. A protocol that controls all four is the difference between a fun party and a tasting whose notes you can trust six months later.
Bourbon Tasting Scorecard: Scoring and Reading the Results
A scorecard turns opinions into data you can compare across tastings. The goal isn't to crown a winner, it's to capture what each taster actually experienced before the labels come back.
The scorecard structure
Score each pour on four categories using a 1 to 5 scale. Keep the categories identical every session so your records stay comparable.
| Category | What to Score | Scale |
|---|---|---|
| Aroma | Nose intensity and complexity | 1-5 |
| Palate | Sweetness, spice, body | 1-5 |
| Finish | Length and smoothness | 1-5 |
| Overall | Would you buy a bottle? | 1-5 |
Add the four scores for a total out of 20. Leave a blank line for free-text notes, the numbers tell you what someone preferred, but the notes tell you why.
Add a guess column (optional but revealing)
If you want to separate preference from accuracy, add a fifth column: "Which bottle do you think this is?" This is where a blind tasting gets interesting. A taster can love a pour and guess it completely wrong, or correctly identify a bottle they don't actually enjoy. Tracking both tells you two different things:
- Preference score, what you liked.
- Guess accuracy, how well you know the category.
Most groups find that accuracy and preference don't line up. That's the point. A blind tasting isn't a test of knowledge; it's a test of honesty.
Reading the results: consensus vs. outliers
Don't just add up the totals. Look at the shape of the scores.
- Highest average, the pour the group collectively preferred. This is your winner.
- Highest single score, often one enthusiastic taster, not a group consensus. Note it, but don't let it decide the outcome.
- Widest spread, a polarizing pour. Some loved it, some didn't. These are often the most interesting bottles to revisit.
A simple way to see this: write each taster's total in a column under each code, then scan down. The column with the highest average wins; the column with the biggest gap between top and bottom is your conversation starter.
Separating preference from guessing accuracy
At the reveal, compare two things:
- Did the group's top-scoring pour match the bottle most people guessed correctly?
- Did anyone's favorite turn out to be the bottle they expected to dislike?
Both answers are useful. The first tells you whether the group's palate aligns with reputation. The second tells you whether price and label are doing the work that taste should be doing.
Keep the scorecards
This is the part most hosts skip. File the scorecards with the date, the lineup, and the codes. Over three or four tastings, patterns emerge: you may consistently rank wheated bourbons highest, or you may find that high-proof pours score well on aroma but poorly on finish. That's actionable information the next time you're standing in a store.
Accessibility, Responsible Serving, and Non-Expert Guests
Not everyone at the table is a bourbon expert, and that's fine.
Make the tasting easy to join:
- Offer a "no score, just taste" option for guests who'd rather not judge
- Keep water and snacks within reach
- Use small pours so nobody feels pressured to finish
Responsible serving is non-negotiable. For guidance on safe drinking limits, the CDC alcohol and public health resources outline current recommendations.
Non-expert guests often give the most honest scores. They aren't trying to impress anyone. Their notes are frequently the most useful.
Conclusion
Running a great tasting comes down to fair pours, hidden labels, and a scorecard everyone actually fills out.
Bourbon Tracker™ makes the follow-up easy. Log every scorecard, store tasting notes, and build a wishlist from the pours you loved.
Get started with Bourbon Tracker™ and turn one good tasting into a collection you actually understand.
Frequently Asked Questions
How many bourbons should you include in a blind tasting?
Most hosts land on 4 to 6 pours per flight, which keeps palates fresh and the session under two hours. Fewer than four makes ranking hard because you have too little to compare. More than six and fatigue sets in, especially past 100 proof. If you want to feature eight or more, split them into two flights with a palate cleanser and a short break between them.
Should you taste bourbon neat or with water during a blind tasting?
Start neat so everyone catches the full aroma and flavor profile. Then offer a small splash of water, roughly a few drops to half a teaspoon, for anything above 100 proof. Water can open up the nose and soften the burn, but it also changes the whiskey, so have tasters score neat first and note any adjustments. Keep the water room temperature and unscented.
How do you score bourbon in a blind tasting?
Use a simple bourbon tasting scorecard with four categories: aroma, palate, finish, and overall. Score each on a 1 to 5 scale, or use a 100-point format if your group prefers. Add a line for guessing the proof or distillery for fun. After the reveal, compare scores side by side to see which bottles your group actually preferred versus what they expected to like.
How do you reveal the bottles after a blind bourbon tasting?
Once every scorecard is turned in, line the bottles up in the same order as the coded glasses and peel the labels one at a time. Let the group guess each bottle before you announce it, then share the proof, age, and distillery history. The reveal is where most of the discussion happens, so give it 15 to 20 minutes and encourage people to revisit any pour that surprised them.