 how-to
7 Steps to Host a Professional Whiskey Tasting
Last Updated: October 25, 2026
Quick Summary
To host a professional whiskey tasting, start with a written plan covering a narrow theme, a capped headcount, a budget, a timeline, and a bottle list. Pour four to six whiskeys in half-ounce to three-quarter-ounce measures, ordered light to heavy and low proof to high proof. Lead guests through inspect, smell, sip, and compare, with water, food, and spit cups on hand.
- Spend roughly two-thirds of your budget on whiskey and one-third on glassware, water, snacks, and printed materials.
- A workable two-hour timeline runs from a welcome pour through two flights to a final compare and score.
- Five whiskeys at a half-ounce pour equals 2.5 oz total per guest, and a 750 ml bottle holds about 25 oz.
- Use a tulip-shaped tasting glass to trap aroma, or a standard rocks glass if you don't have one.
- Stop pours at least 30 to 45 minutes before the event ends so guests can eat, drink water, and arrange a ride.
Table of Contents
- Plan Your Whiskey Tasting Event Checklist
- How Many Whiskeys for a Tasting and Pour Sizes
- Set the Whiskey Tasting Flight Order
- Glassware, Water, and Room Setup
- Walk Guests Through the Step-by-Step Tasting
- Use a Whiskey Tasting Notes Template
- Serve Responsibly and Include Every Guest
- Log Your Bottles and Notes in Bourbon Tracker
- Frequently Asked Questions
Plan Your Whiskey Tasting Event Checklist
A professional whiskey tasting starts with a written plan, not a shopping spree.
Here's the short version of what a whiskey tasting event checklist needs before you spend a dollar:
- A theme narrow enough to explain in one sentence
- A headcount with a firm cap
- A budget split between bottles and everything else
The rest of this guide walks through each one. Below, we'll show you exactly how to run the whole night so guests leave talking about the whiskey, not the chaos.
Set a Theme and Budget
A theme narrows your bottle selection and gives guests a reason to care. "American whiskey" is too broad.
Good themes for a professional-feeling tasting:
- Age ladder: the same brand at several age statements
- Proof ladder: low proof to barrel proof
- Grain focus: wheated versus rye-forward bourbons
Budget matters more than most hosts expect. A common approach is to spend roughly two-thirds on whiskey and one-third on glassware, water, snacks, and printed materials.
Watch out: don't buy bottles the week of the event. Give yourself two to three weeks to find what you want and to taste anything unfamiliar first.
Build the Run-of-Show Timeline
Professional events run on a schedule, even relaxed ones. Write a run-of-show with real times and stick to it loosely.
A workable two-hour timeline:
| Time | Segment | Notes |
|---|---|---|
| 0:00 | Arrival and welcome pour | One easy sipper while people settle |
| 0:15 | Intro and ground rules | Theme, order, spit cups, water |
| 0:25 | Flight one, two pours | Guided nosing and sipping |
| 0:55 | Short break | Water, snacks, palate reset |
| 1:05 | Flight two, two to three pours | Higher proof, more discussion |
| 1:35 | Compare and score | Guests fill in notes and scores |
| 1:50 | Wrap-up | Reveal, favorites, next steps |
Print this and keep it where you can see it. The timeline is what separates a host from someone just opening bottles.
How Many Whiskeys for a Tasting and Pour Sizes
Four to six whiskeys is the sweet spot for a tasting, with five being the most common choice. More than six and palates tire, notes blur, and the last pour gets wasted.
Pour sizes should stay small. A half-ounce to three-quarter-ounce pour is plenty for evaluation, and it keeps the total alcohol per guest reasonable across a two-hour event.
Quick math for planning:
- 5 whiskeys × 0.5 oz = 2.5 oz total per guest
- A 750 ml bottle holds about 25 oz, so roughly 50 half-ounce pours
- For 10 guests at 5 pours each, you need about one bottle per whiskey, with a little spare
Add a welcome pour and a favorite re-pour, and a 750 ml bottle per expression covers a 10-person tasting comfortably.
Set the Whiskey Tasting Flight Order
Order your flight from light to heavy and from low proof to high proof. This single rule does more for the tasting than any other choice you'll make.
Start with the gentlest whiskey: lower proof, more grain and honey, less oak. End with the boldest: barrel proof, heavy char, big spice. Palates adapt as the night goes on, so a delicate pour served last will taste like water.
Light to Heavy, Low to High Proof
Two sequences work well in practice:
- By proof: 80-90 proof first, then 100-110, then barrel proof
- By intensity: wheated and honeyed first, rye spice and heavy oak last
If you're unsure where a bottle falls, taste it yourself a day ahead and rank it. What most guides miss is that age doesn't always mean heavier.
For a deeper walkthrough on sequencing, see our guide on how to build a bourbon tasting flight.
Glassware, Water, and Room Setup
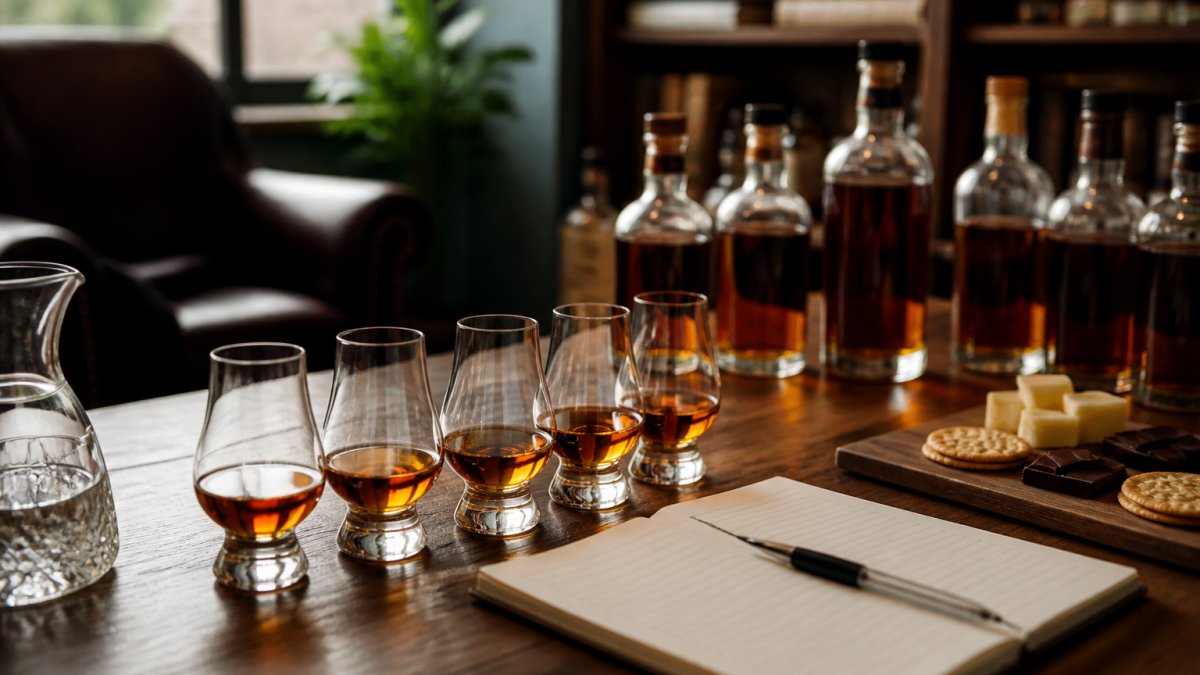
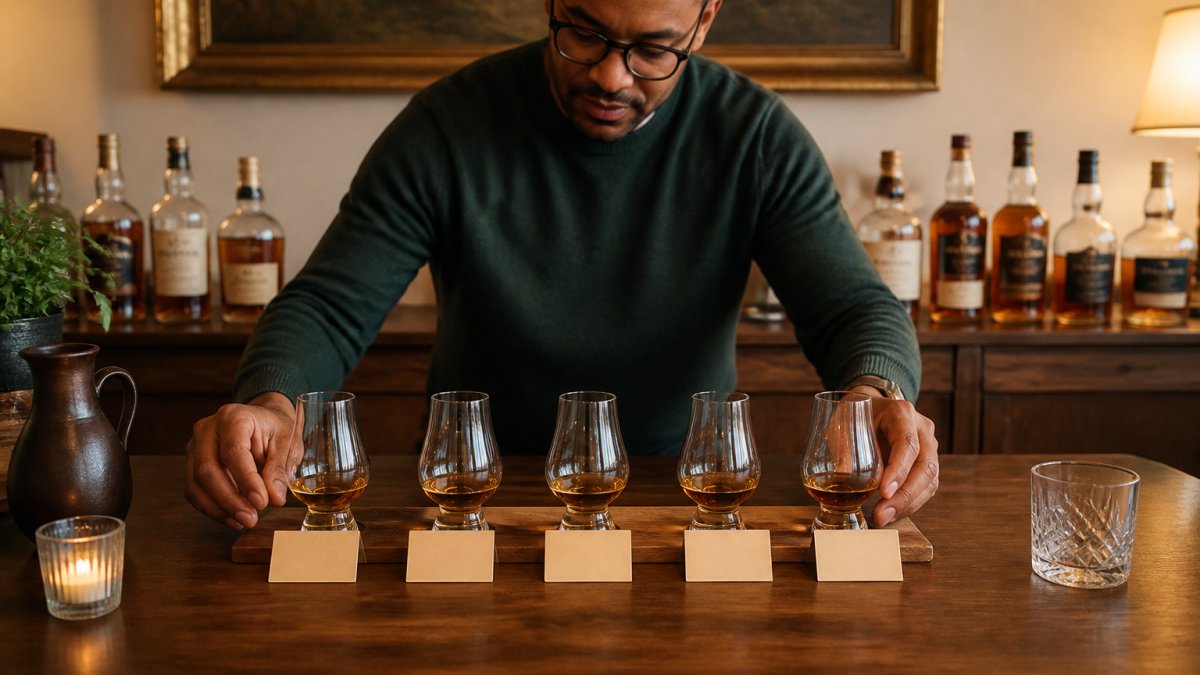
Use a tulip-shaped tasting glass if you have one, and a standard rocks glass if you don't. The tulip shape traps aroma and makes nosing far easier.
Your setup list:
- One glass per pour per guest, or one glass rinsed between pours
- Room-temperature water in pitchers, plus small water drops for each glass
- Plain crackers, bread, or unsalted nuts as palate cleansers
Room conditions matter. Keep the room at a comfortable temperature, avoid strong cooking smells or candles, and clear the table of anything scented.
For guidance on which glasses actually help, read our breakdown of the best whiskey glasses for nosing and tasting.
Walk Guests Through the Step-by-Step Tasting
Lead every pour through the same four moves: inspect, smell, sip, compare. Consistency is what makes a tasting feel professional.
Tell guests up front that there are no wrong answers. Then walk them through it, pour by pour.
Inspect, Smell, Sip, Compare
- Inspect: Hold the glass to the light. Note color, clarity, and legs.
- Smell: Nose gently with your mouth slightly open. Short sniffs beat long inhales.
- Sip: Take a small sip, let it coat your tongue, and note the first flavors.
- Compare: Set the glass down, wait a moment, then revisit. Note the finish and how it changes.
Add a drop of water to higher-proof pours and smell again. Many guests are surprised how much opens up.
If you want to go deeper on aroma and flavor language, our step-by-step guide to identifying whiskey tasting notes covers it.
Use a Whiskey Tasting Notes Template
A tasting notes template turns opinions into something you can compare later. Hand one to every guest and collect them at the end. It also gives quiet guests something to do besides sip.
A simple template covers:
- Whiskey name, proof, and age
- Color (one or two words)
- Nose: three words maximum
Keep it to one page. Long forms kill the mood.
If you'd rather build a reusable system than a one-off sheet, our guide on building a whiskey tasting journal shows how to organize notes over time.
Serve Responsibly and Include Every Guest
Responsible hosting means planning for the guest who isn't drinking much, the guest who shouldn't drive, and the guest who can't drink at all. Both are part of a professional event, not an afterthought. Most tasting guides treat this as a footnote; for a professional host, it is the part that protects your guests and your event.
A Safe-Service Protocol
Put a written protocol in place before the first pour and brief anyone helping you:
- Cap the pour, not the fun. Keep pours at 0.5-0.75 oz and offer water between every flight. A two-hour, five-pour tasting stays modest when pours are measured.
- Food first. Put out food before the first flight and keep it available throughout. Starchy, unsalted foods are best for palate and for pacing.
- Spit cups without comment. Set them out at every place setting. Some guests will use them, and normalizing them removes the stigma.
Nonalcoholic Programming That Feels Intentional
A good nonalcoholic option is not an afterthought glass of water. Offer at least one drink that feels designed for the event:
- A good ginger ale or ginger beer over ice with a citrus twist
- Chilled tea or a sparkling water with a bitters-style nonalcoholic flavoring
- A nonalcoholic "spirit" served in the same glassware so the guest is not singled out
Announce the nonalcoholic option at the welcome, alongside the water and spit cups. Guests who are not drinking should not have to ask.
Accessibility and Inclusion
Inclusion goes beyond alcohol. Plan for guests who can't taste high-proof spirits comfortably, guests who are new to whiskey, and guests with dietary needs or mobility considerations:
- Mixed-experience groups: give newcomers a gentler pour and explain what they are smelling without jargon. Never make a guest feel tested.
- Dietary needs: ask about allergies and dietary restrictions when you collect RSVPs, and label food so guests can serve themselves safely.
- Accessible venue: confirm step-free access, seating, and restroom accessibility if the event is not at home.
The NIAAA guidance on low-risk drinking is a useful reference for hosts planning alcohol quantities and pacing.
A Simple Contingency Plan
Write down what you will do if a guest has had too much, if a bottle is corked, or if the venue has a problem. A short contingency plan, who calls the ride, who handles the bottle swap, who talks to the venue, keeps a small issue from becoming the story of the night.
Log Your Bottles and Notes in Bourbon Tracker
A tasting produces a stack of score sheets and a list of bottles you want to buy again.
That's where Bourbon Tracker™ fits. Log every bottle you open, attach the notes from the night, and keep your wishlist current while the impressions are fresh.
For collections that keep growing, that record matters. Ten tastings from now, you'll want to know which bottle scored highest and which one you'd skip.
Frequently Asked Questions
How many whiskeys should you serve at a tasting?
Plan on four to six whiskeys per tasting. Four is comfortable for a two-hour event and keeps pours small enough that guests can still evaluate each one. Six works if you keep pours to about 15 ml (0.5 oz) and build in a palate cleanser between flights. More than six and guests stop tasting carefully, notes get sloppy, and the event runs long. Pair the count with a clear whiskey tasting flight order so the lineup stays manageable.
What order should you taste whiskey in?
Start light and move heavy. Open with lower-proof, lighter-bodied pours, then move to higher-proof and more heavily aged or cask-influenced whiskeys. Keep bourbon and rye in separate flights if you can, and always put the highest-proof pour last in its flight. This whiskey tasting flight order protects your palate from being overwhelmed early, so guests can actually taste the differences between bottles instead of guessing.
What glassware is best for a whiskey tasting?
A tulip-shaped tasting glass is the standard choice because the narrow rim concentrates aroma. A Glencairn or a copita works well. If you do not have specialty glasses, a small wine glass is a better substitute than a wide rocks glass. Provide one glass per pour or a rinse cup between whiskeys, plus a water pitcher and small tasting cups. Avoid ice for the tasting itself; offer water on the side so guests can add a few drops if they want.
How do you explain whiskey tasting notes to guests?
Give guests a simple whiskey tasting notes template before the first pour. Break it into four lines: appearance (color), aroma (what you smell), palate (what you taste), and finish (how long it lasts). Offer a short list of common descriptors like vanilla, oak, caramel, pepper, or dried fruit so nobody freezes up. Remind them there are no wrong answers. A shared template keeps the conversation moving and makes it easy to compare notes across the flight afterward.
Hosting a professional whiskey tasting comes down to planning: a clear theme, a written timeline, small pours, and a consistent tasting method. The hard part isn't the whiskey, it's keeping track of what you and your guests thought of each bottle. Bourbon Tracker™ makes that easy with free bottle logging, organized tasting notes, a personal wishlist, and AI suggestions tuned to your palate. Get started with Bourbon Tracker™ and turn every tasting into a record you can build on.